The easiest way to get modern functionality out of the early 9-3ss fiber optic systems is to integrate bluetooth. Most available solutions on the market today will allow music playback only, or only transmit call audio through the system if you have the source set to the bluetooth module. ReierParts does this differently, in order to make the integration as seamless as possible. With the ReierParts OEM+ Bluetooth kit, audio will always be muted when you receive a phone call. Regardless of the source you’re using to listen to your music, be it AM/FM radio, CD’s or streaming music. Call audio will be passed to the front speakers, whilst streaming audio from your phone will be passed to the aux-input jack on the back of the head-unit. This allows as close to OEM functionality as possible for both handsfree phone calls as well as bluetooth music streaming. In this blog I’ll go through the basic steps of installing this kit in your car. Aside from finding a switched power source, it’s entirely plug and play!
Note that these instructions are aimed at the sport sedan and sport combis. Scroll down for convertible specific tips. To install the ReierParts OEM+ Bluetooth kit, some disassembly in the dashboard area is required. If you’re comfortable with working on car interiors, you’ll have the kit installed in under two hours. If it’s your first time, plan for a little extra time so you don’t have to stress on reassembly. The plastics can be a bit finicky. Detailed instructions on the removal of interior pieces can be found in WIS (or Workshop Information System), which is available online.
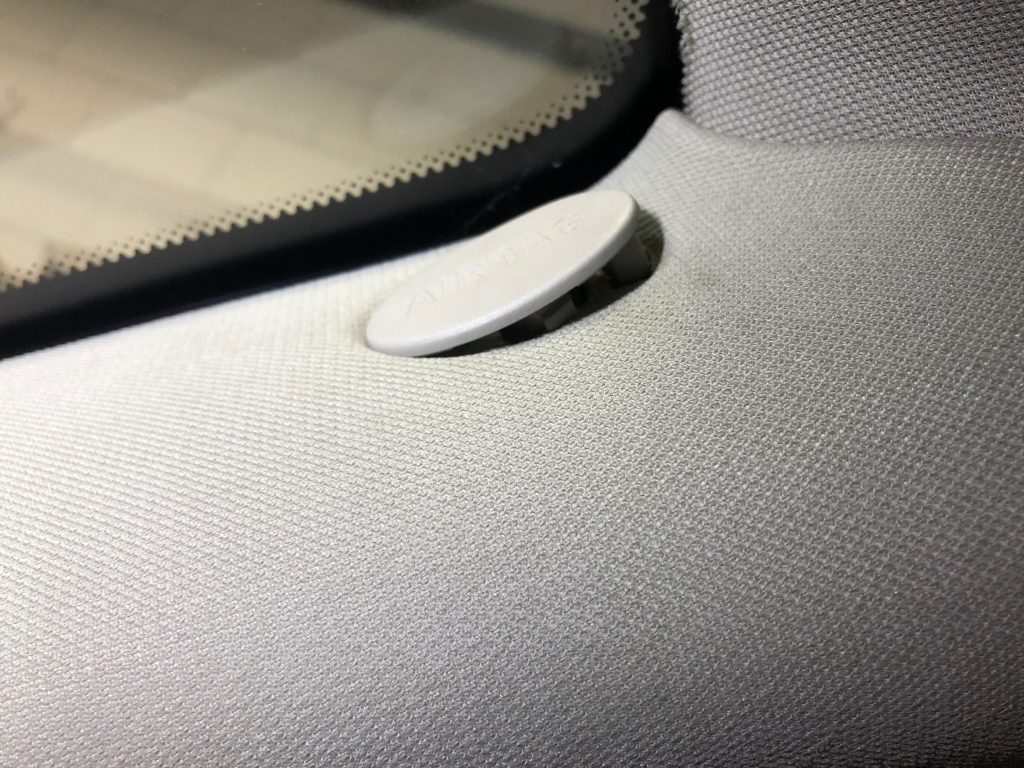
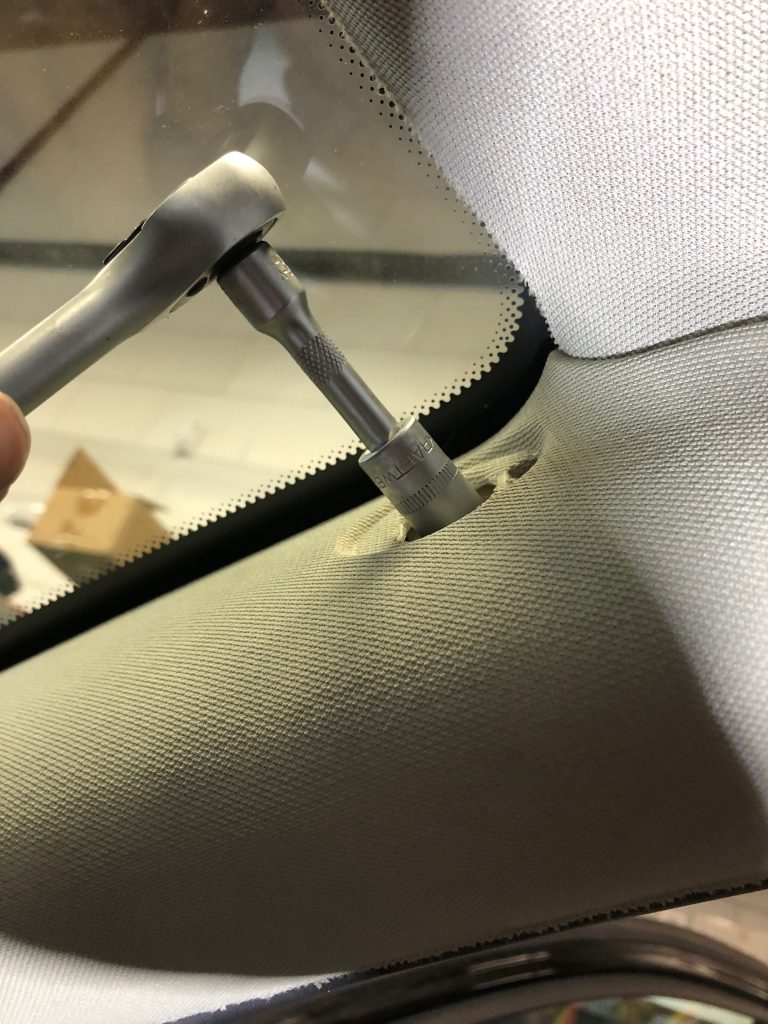
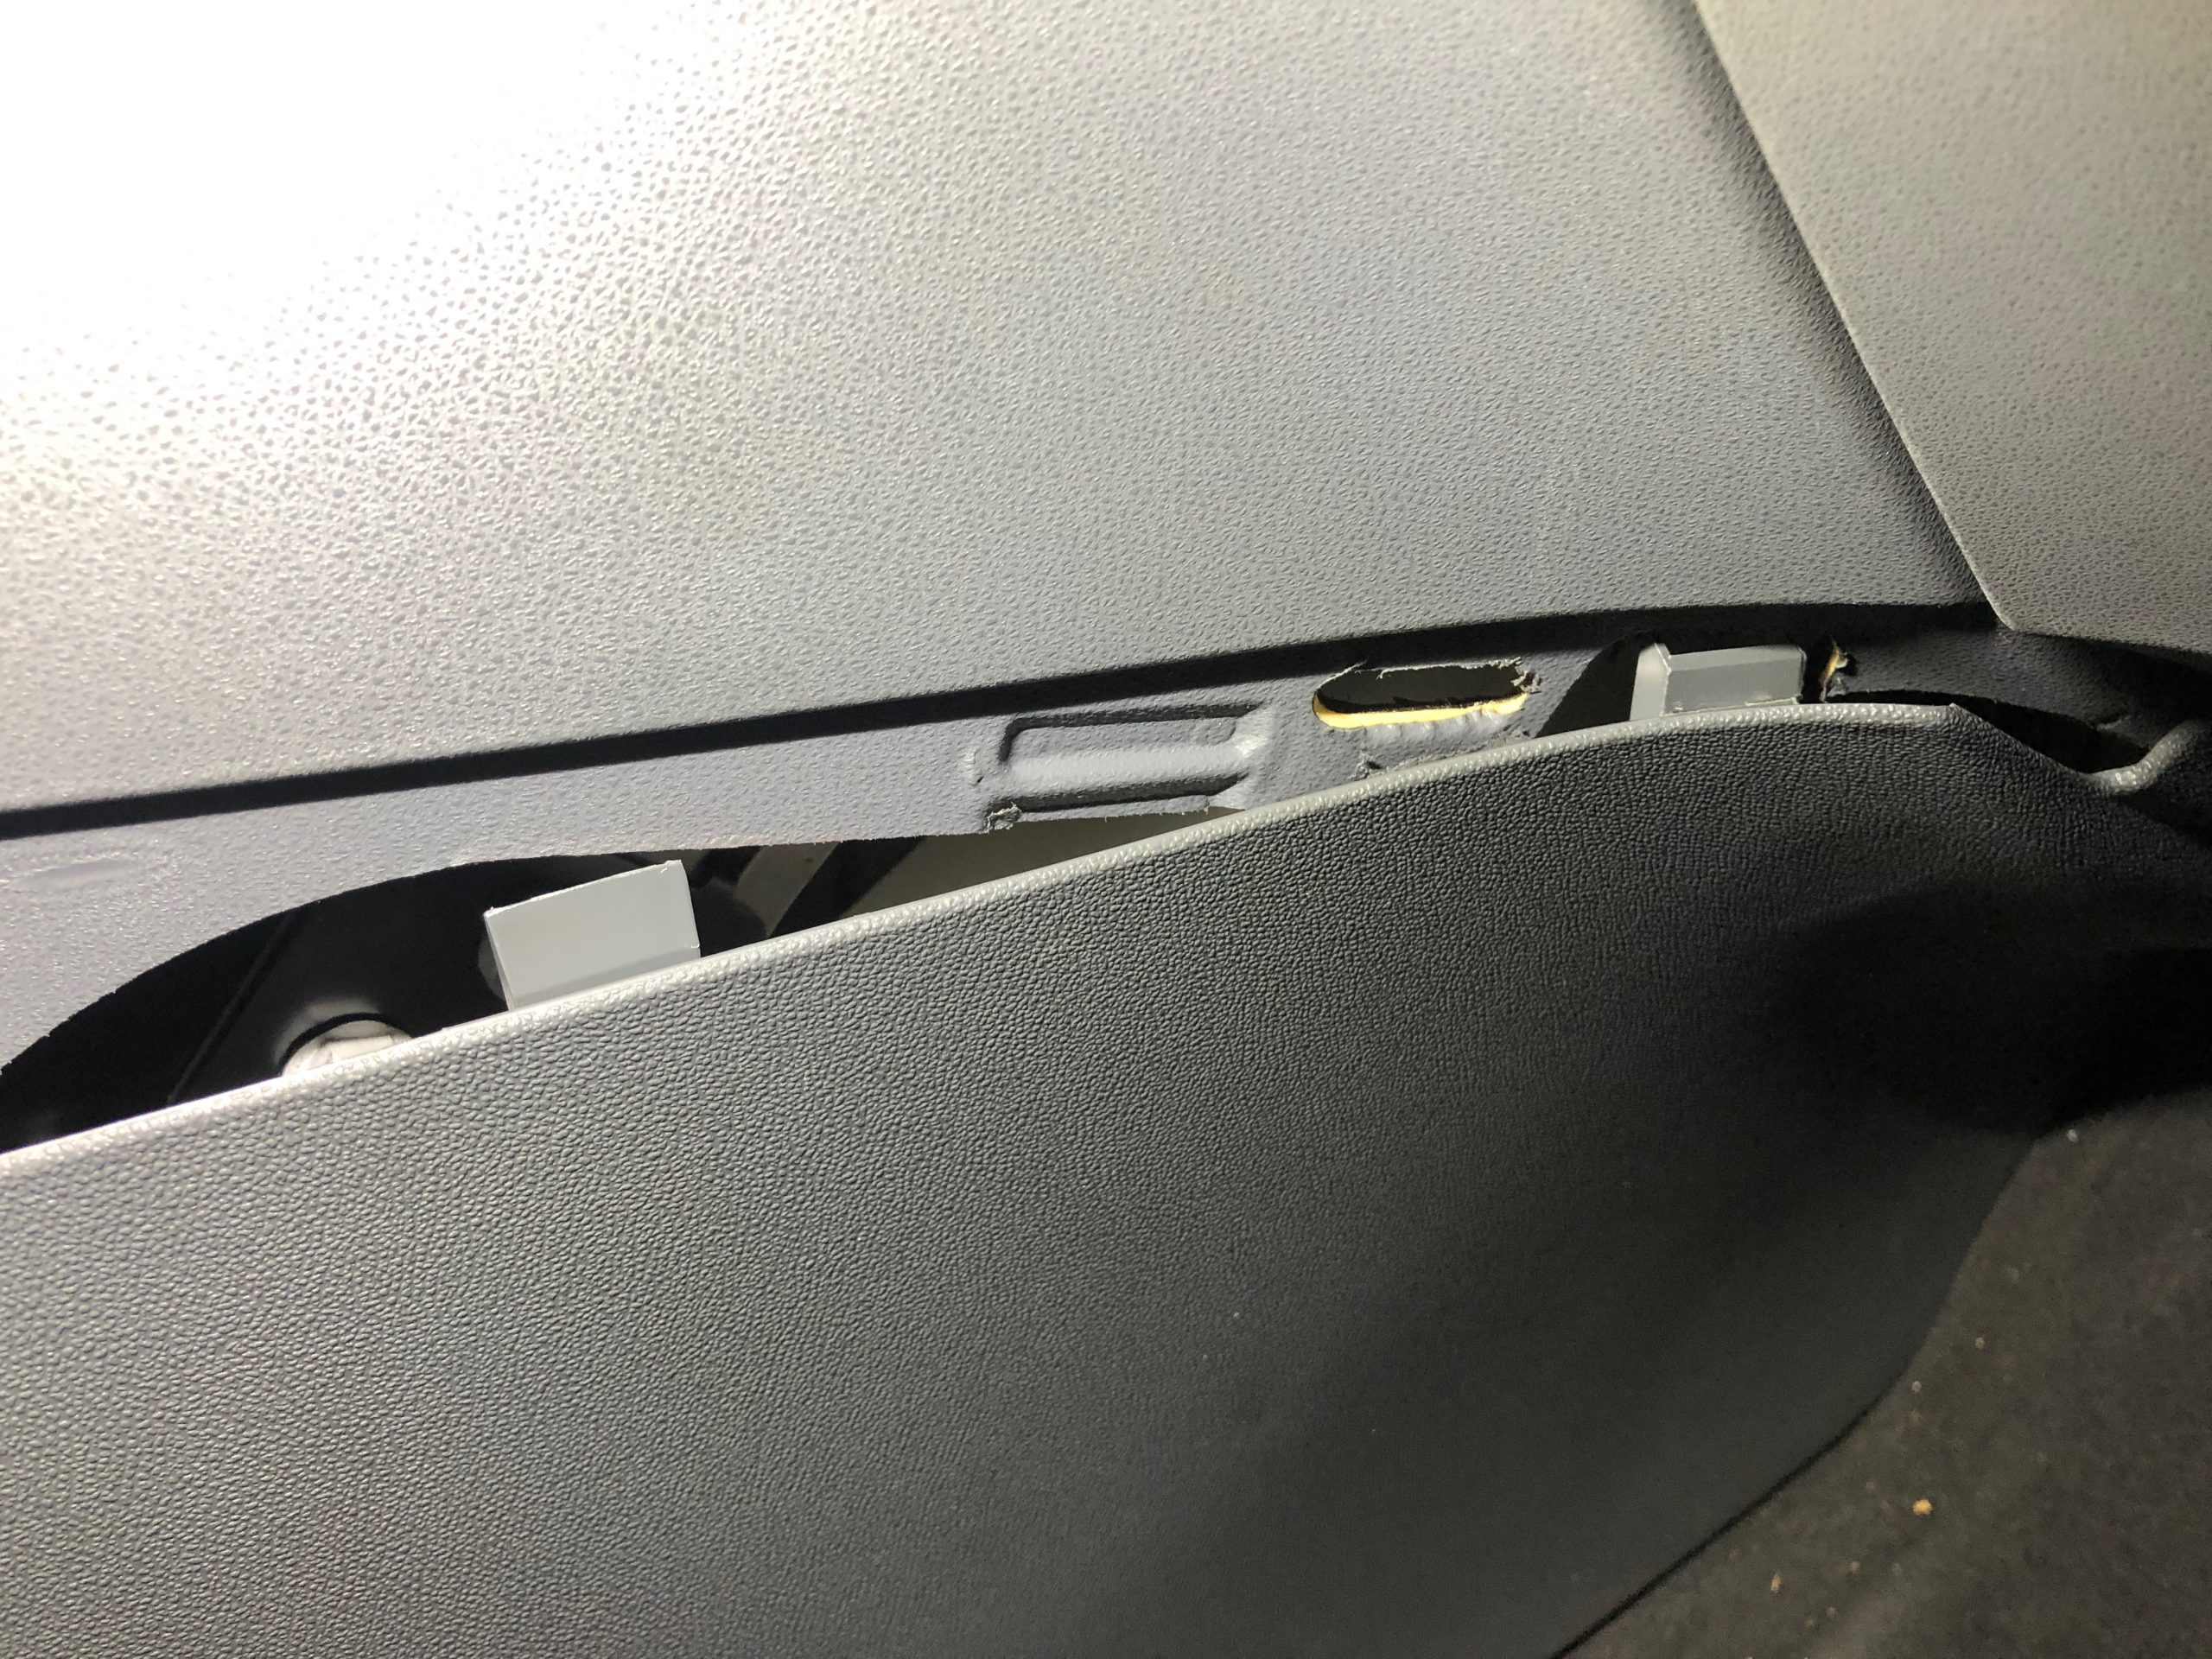
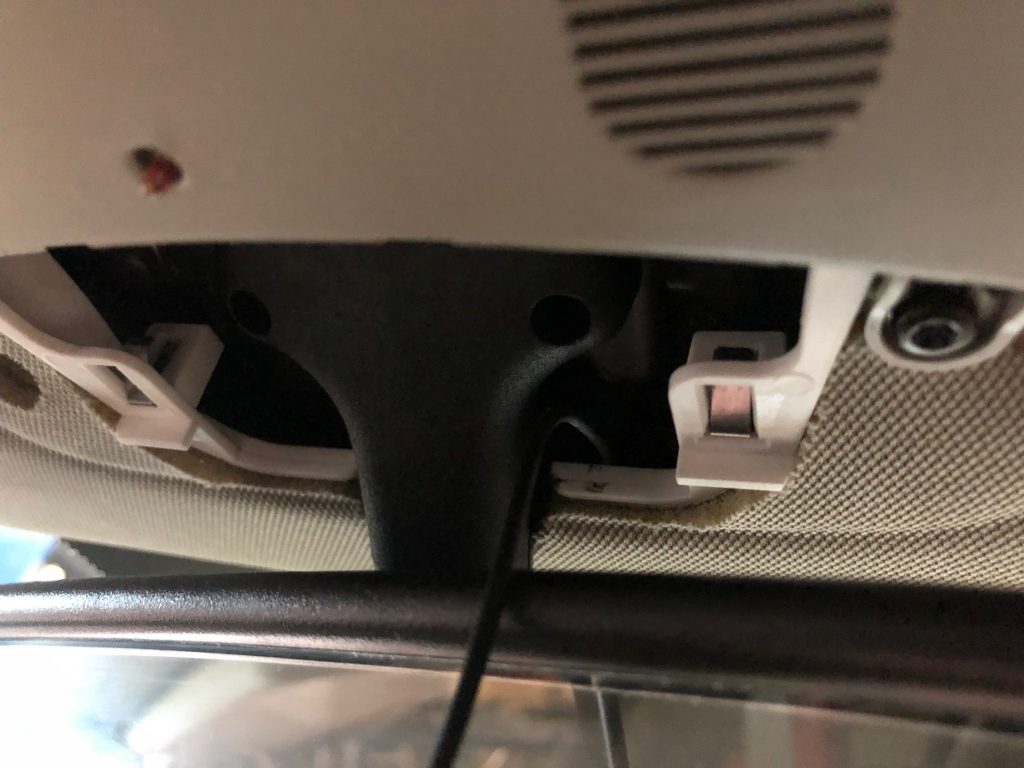
My strategy is to remove all the panels that need to be removed to perform the complete install, instead of going back and forth. After testing to make sure everything works, it’s just a matter of putting the panels back to where they were. So let’s get some panels out of the way. First, remove the A-pillar cover. Pull down the rubber door seal (making sure not to tear it), remove the little cover that says ‘airbag’, remove the bolt underneath and unclip the cover by pulling it towards the center of the car. Next up, remove the side cover. Grap the handle and pull it straight off its clips. Now its time to remove the glove box. Unfortunately, I don’t have any pictures of this yet. This is done by removing the two torx screws underneath the glove box, then opening the glove box and removing the two torx screws in the upper corners and the one in the back of the glove box. Now you can pull the whole thing straight out, be careful as there’s two connectors to remove on the bulb and cars with climate control will have an air hose going to the glove box for the cooling function. The next, panel to go is the side cover of the center console. This can be removed by undoing the single torx screw underneath the cover, pulling the panel down slightly to unhook it from the center console and then pulling it back to unhook it from the front of the dash. Lastly, there’s a small panel around the base of the rear-view mirror that unclips and is easily removed. Remove that as well.
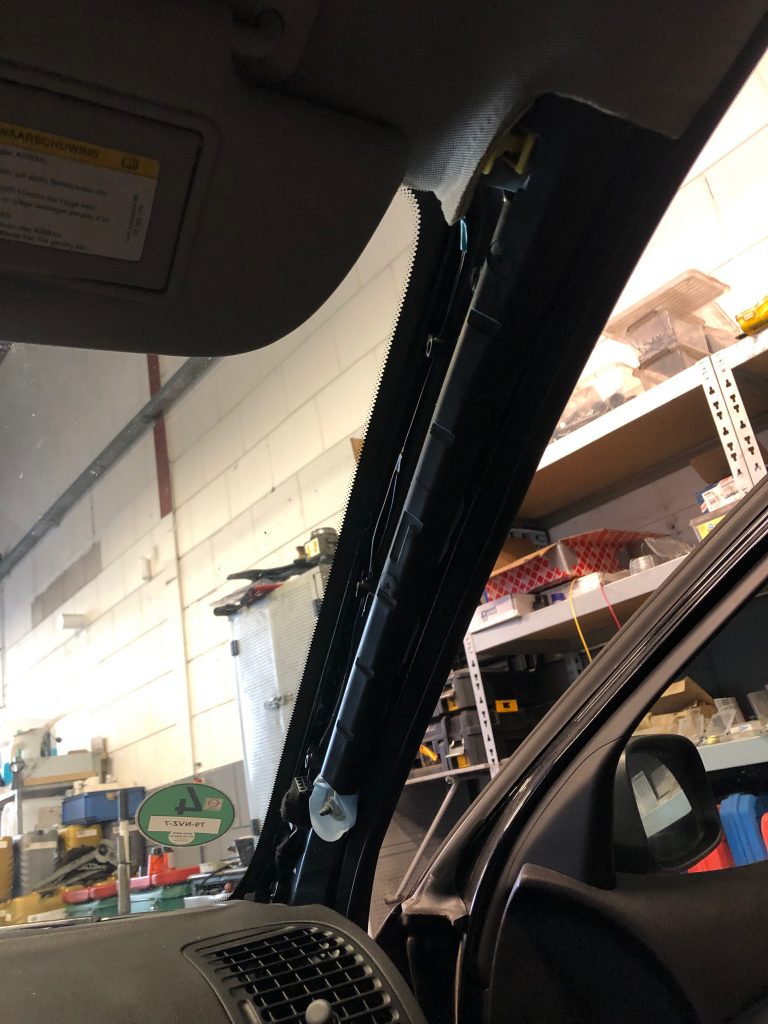
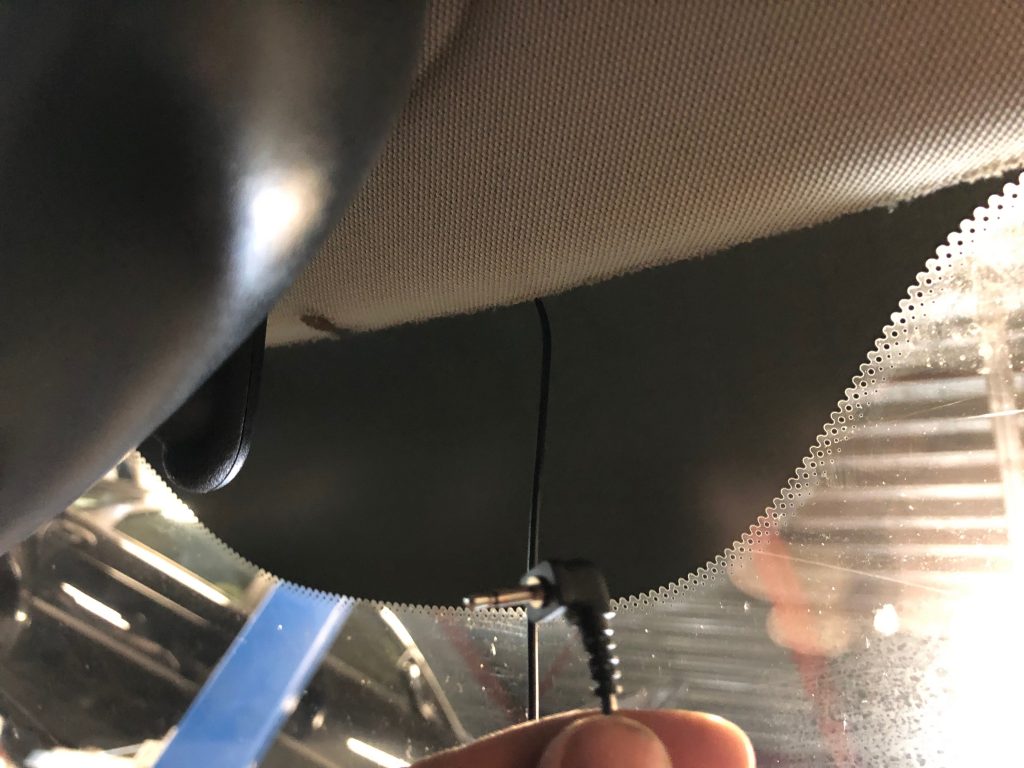
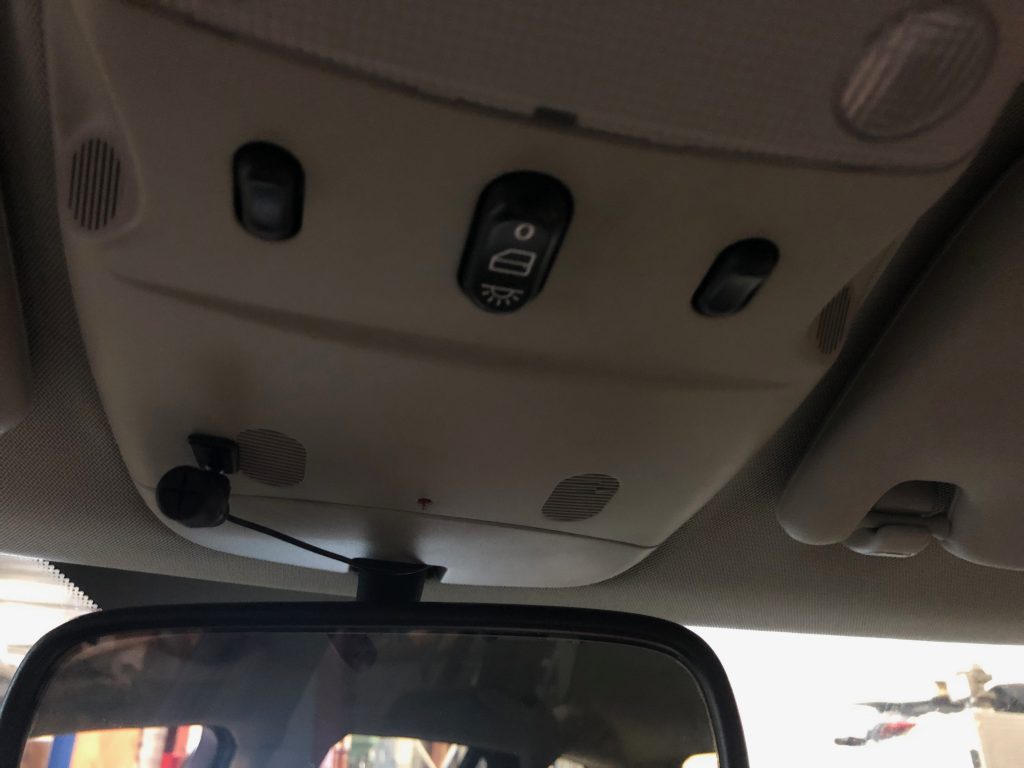
Next step is to install the microphone that comes with the ReierParts OEM+ Bluetooth kit. Place a small wedge between the windshield and the headlining, or attach a long cable-tie to the plug end of the microphone wire. Now, in the rear-view mirror area, fish the microphone plug over the headlining towards the glass. Pull the entire length of wire through, and attach the microphone either to the edge of the headlining with the clip, or stick it to the roof console with the provided double-sided tape. You can now move the wire to the right side of the car and push it over the edge of the headlining towards the corner that gets covered by the a-pillar cover. Now cable-tie the wire to the harness going down the a-pillar and fish the wire to behind the glove-box area. It needs to go all the way to the center console area.
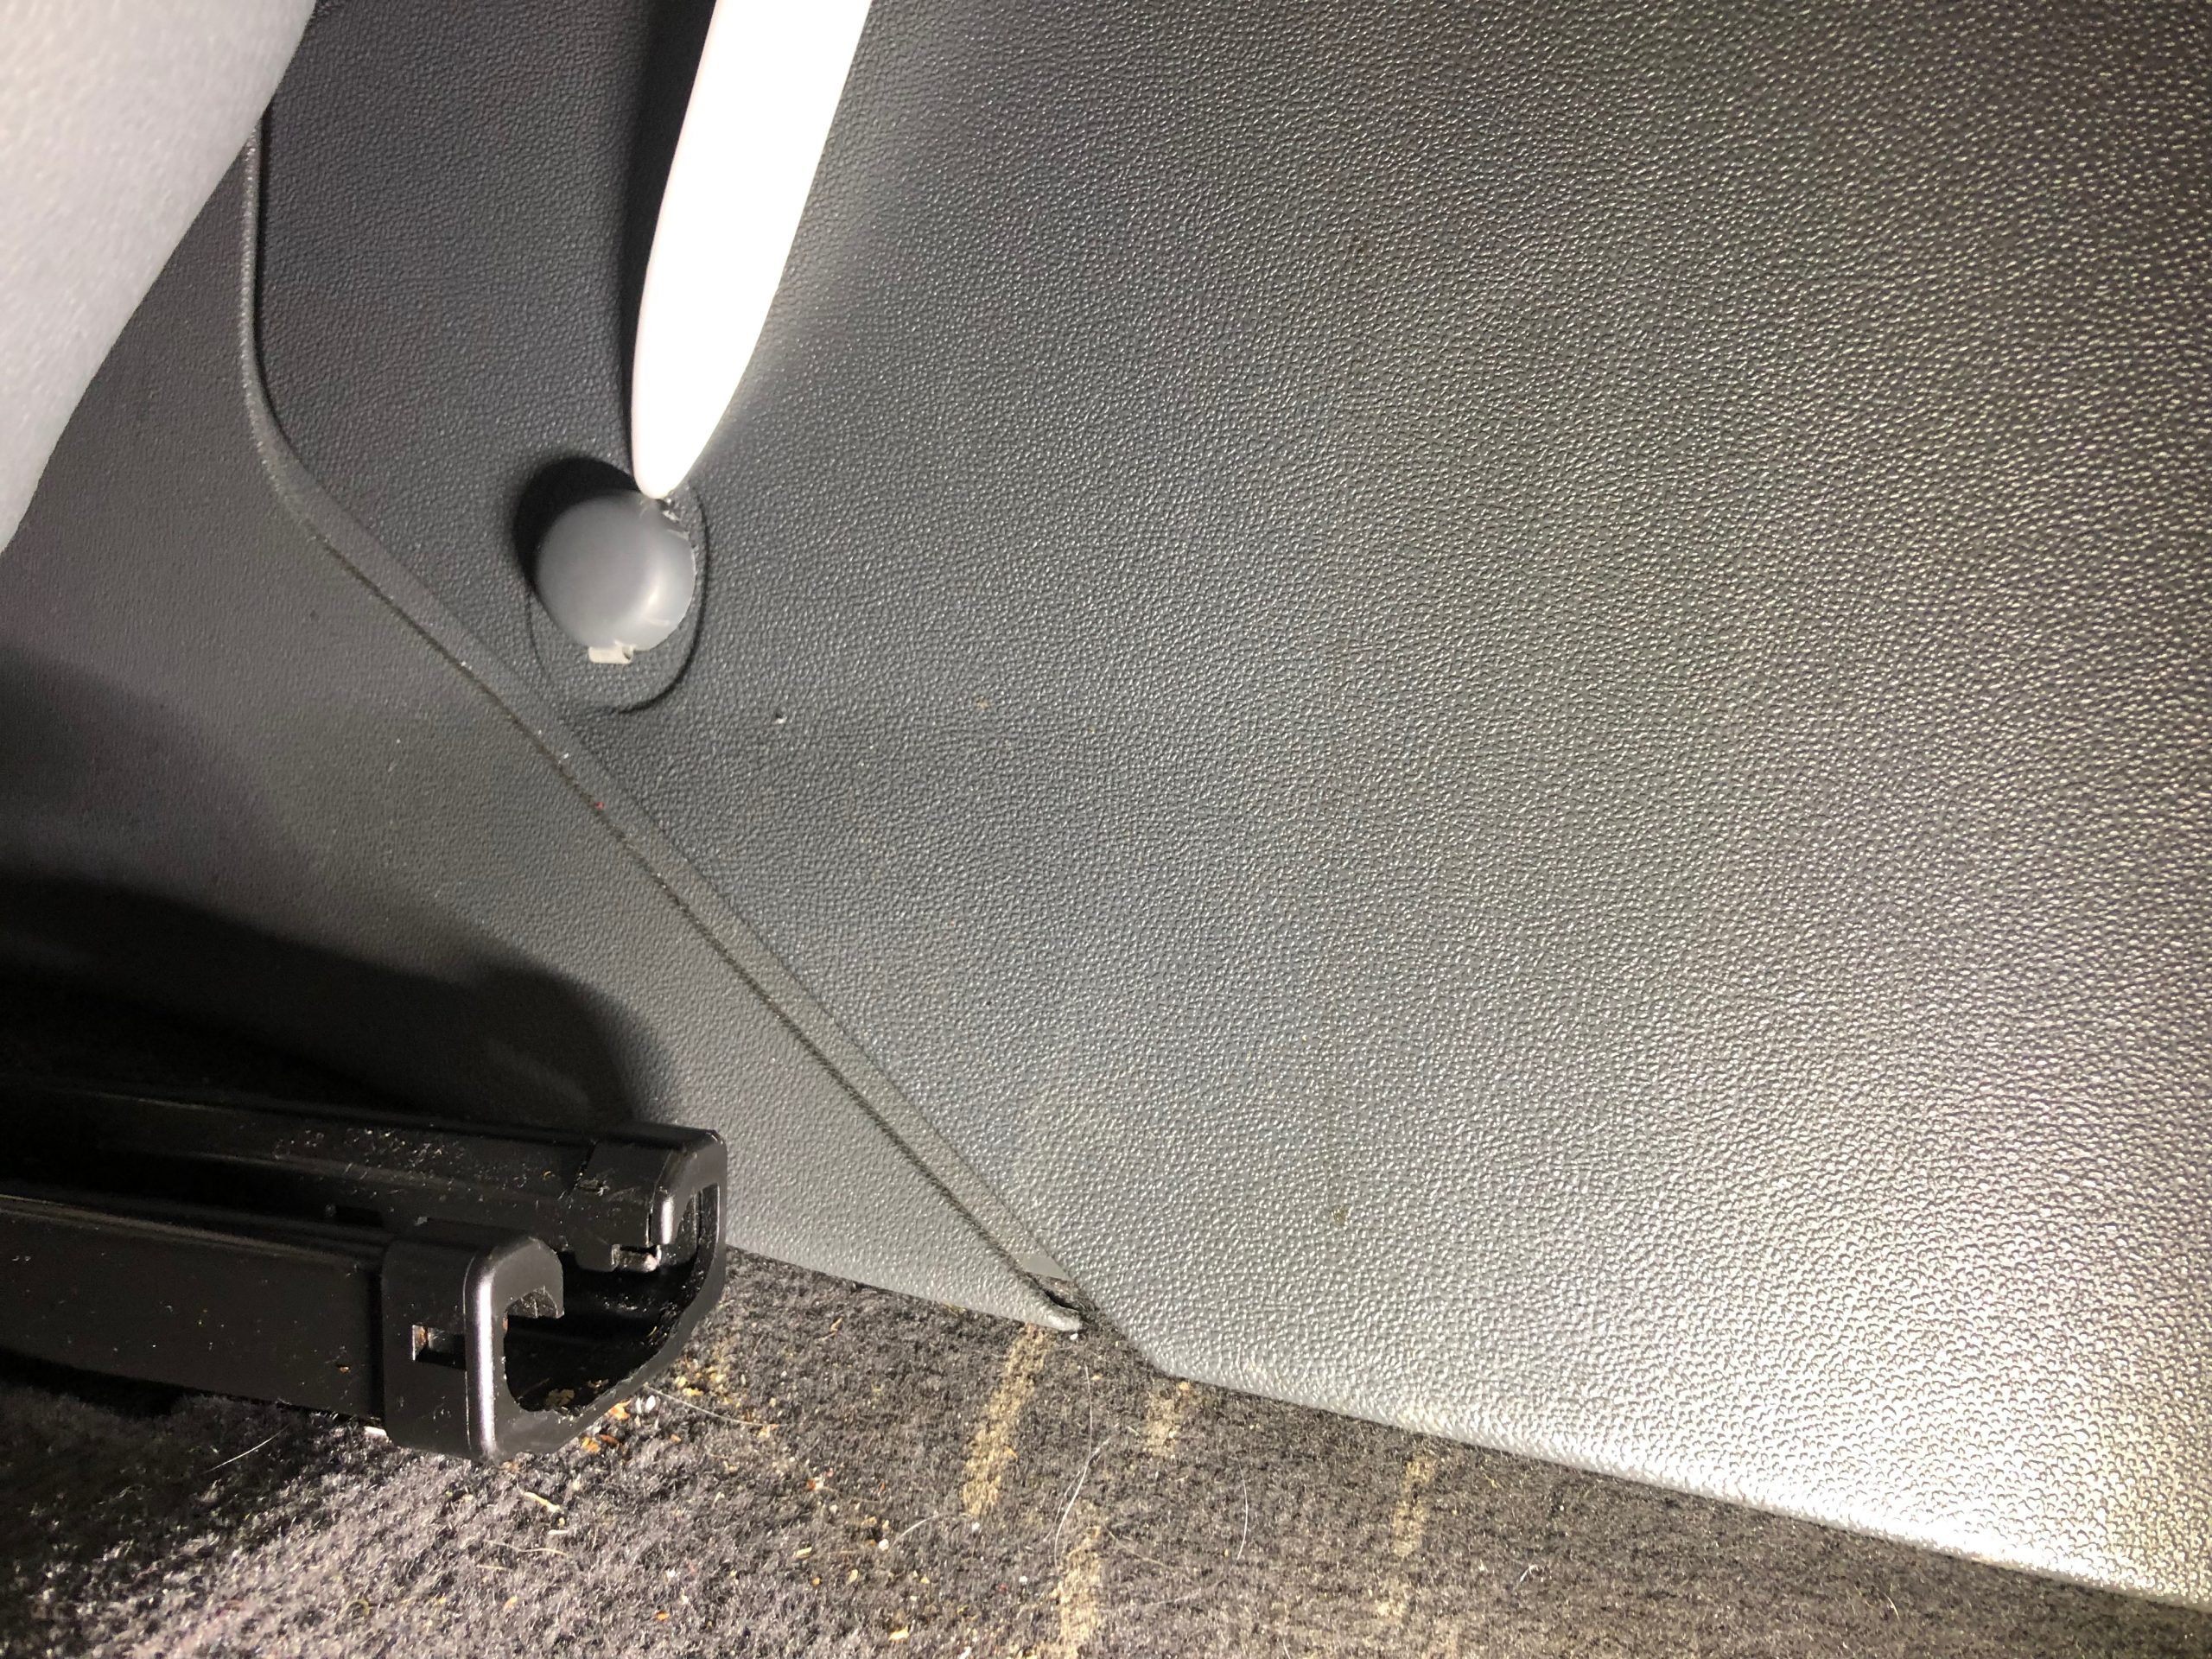
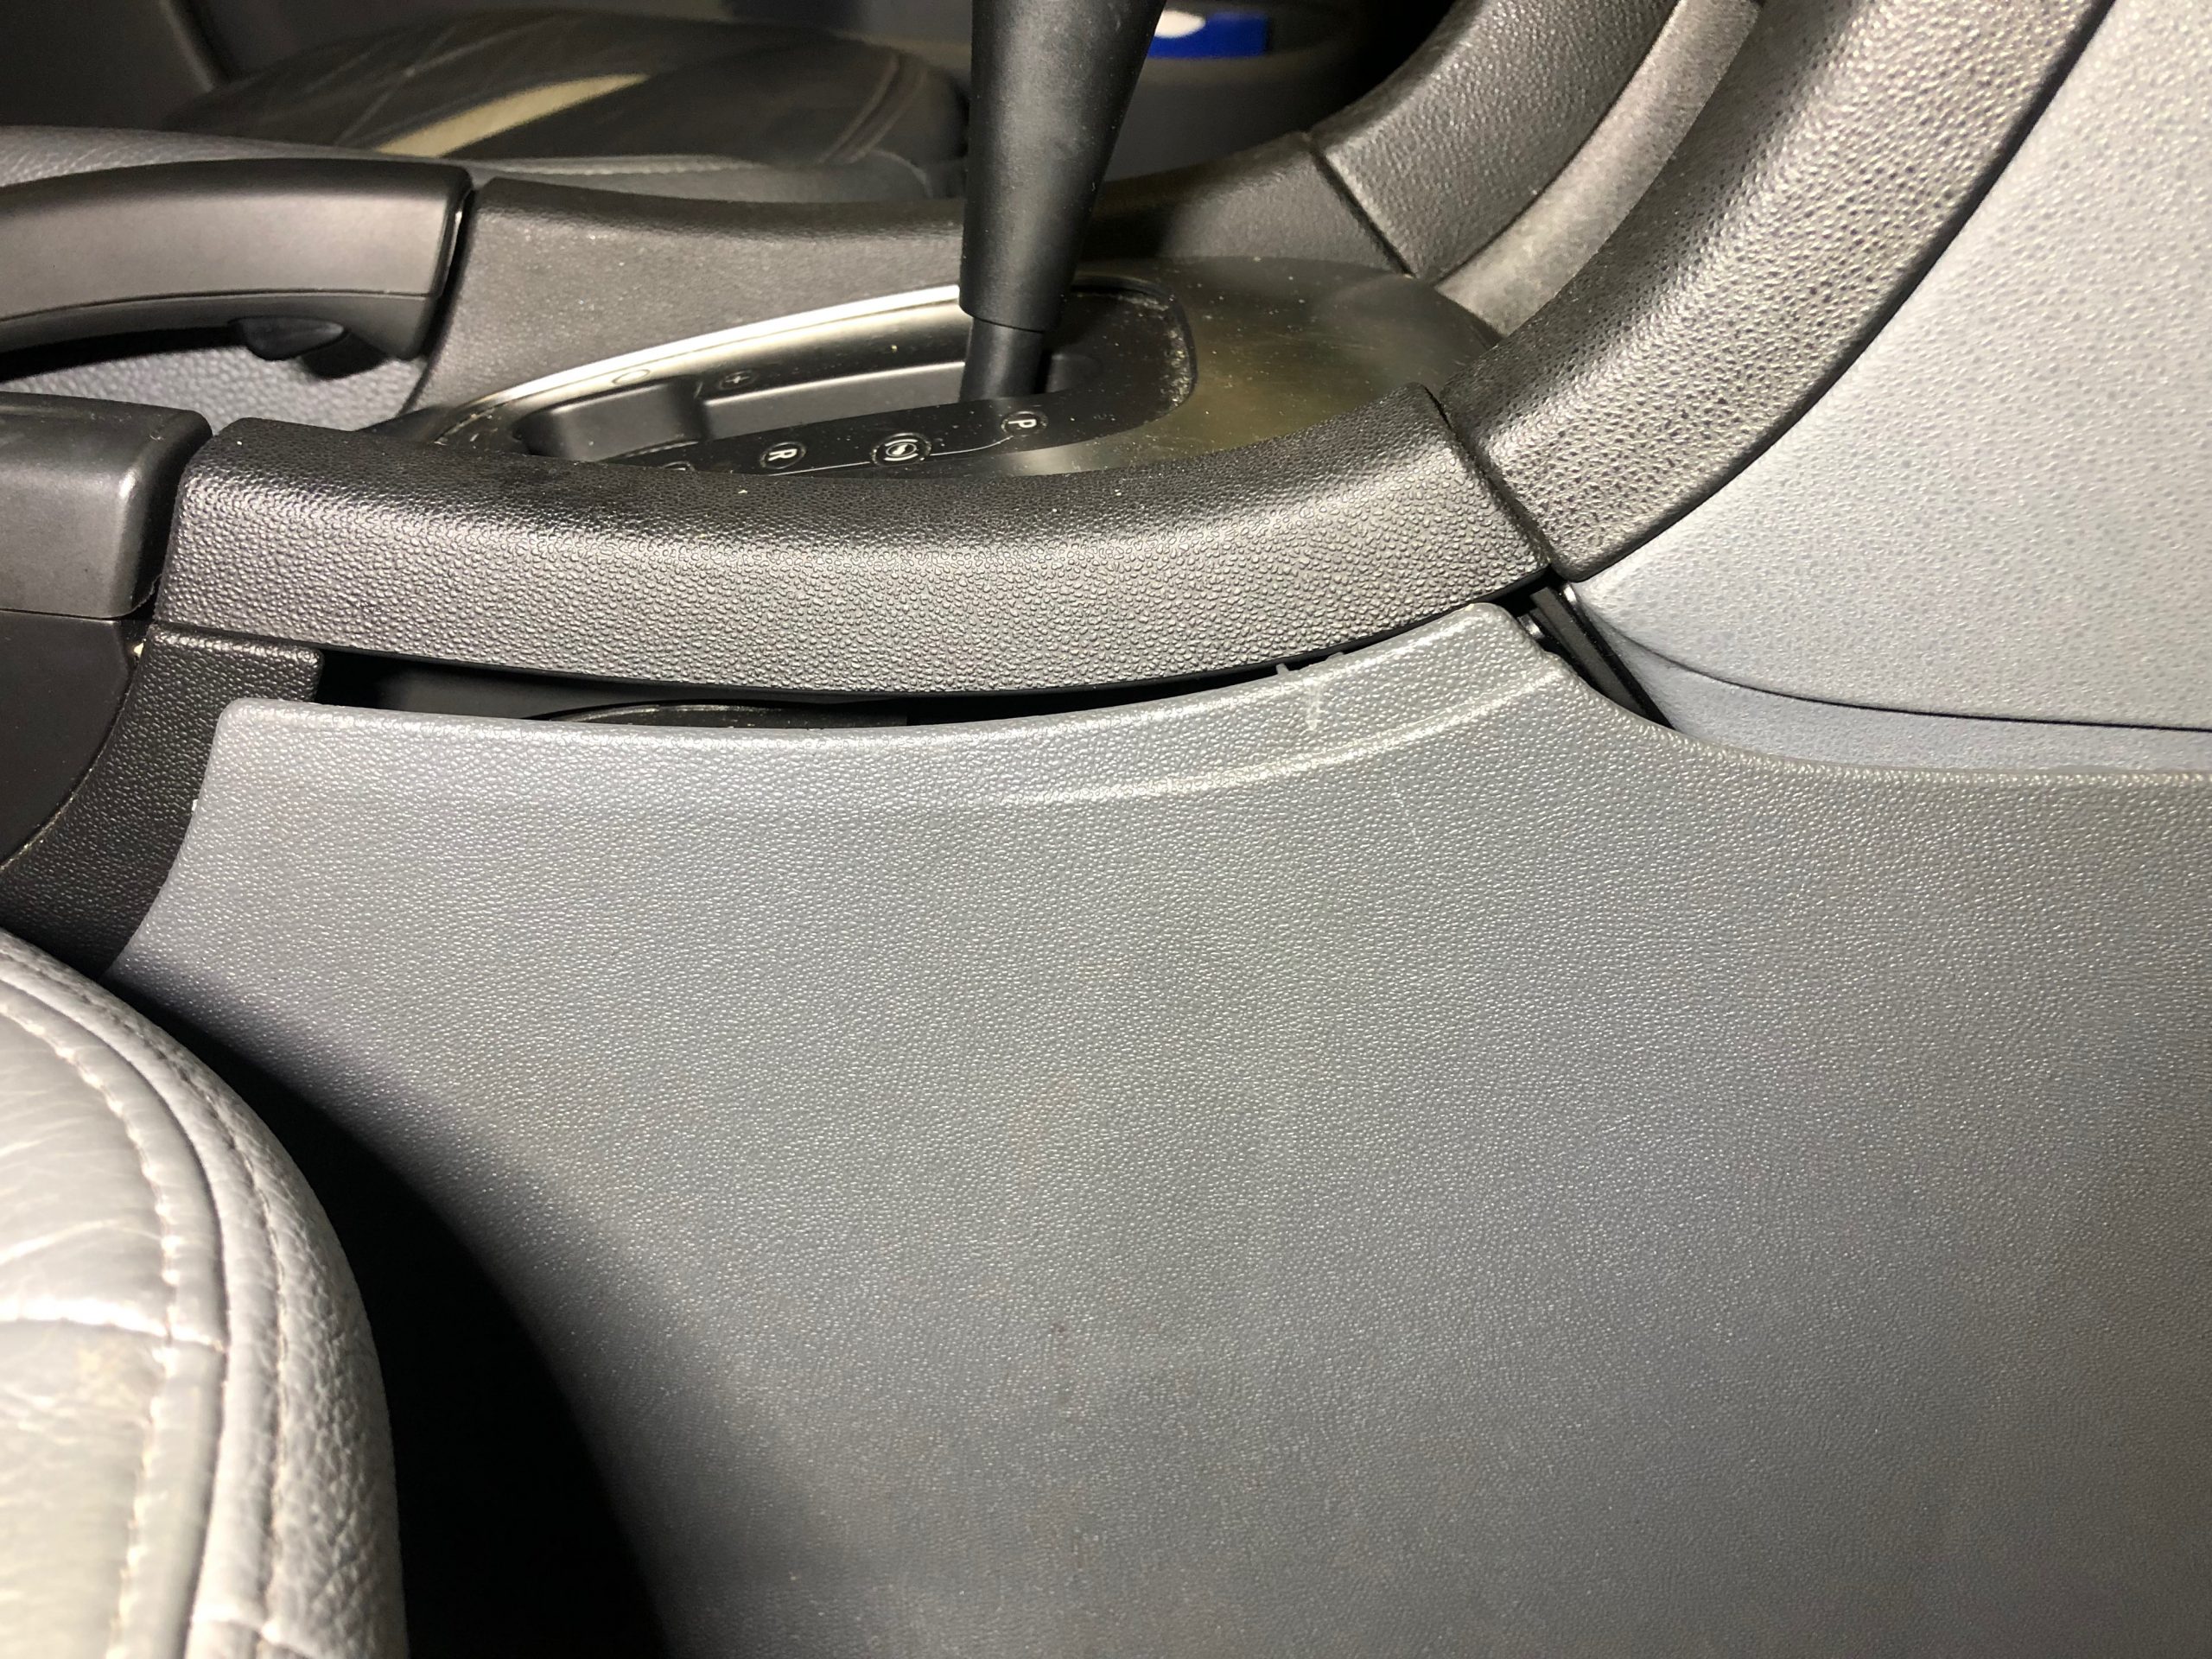
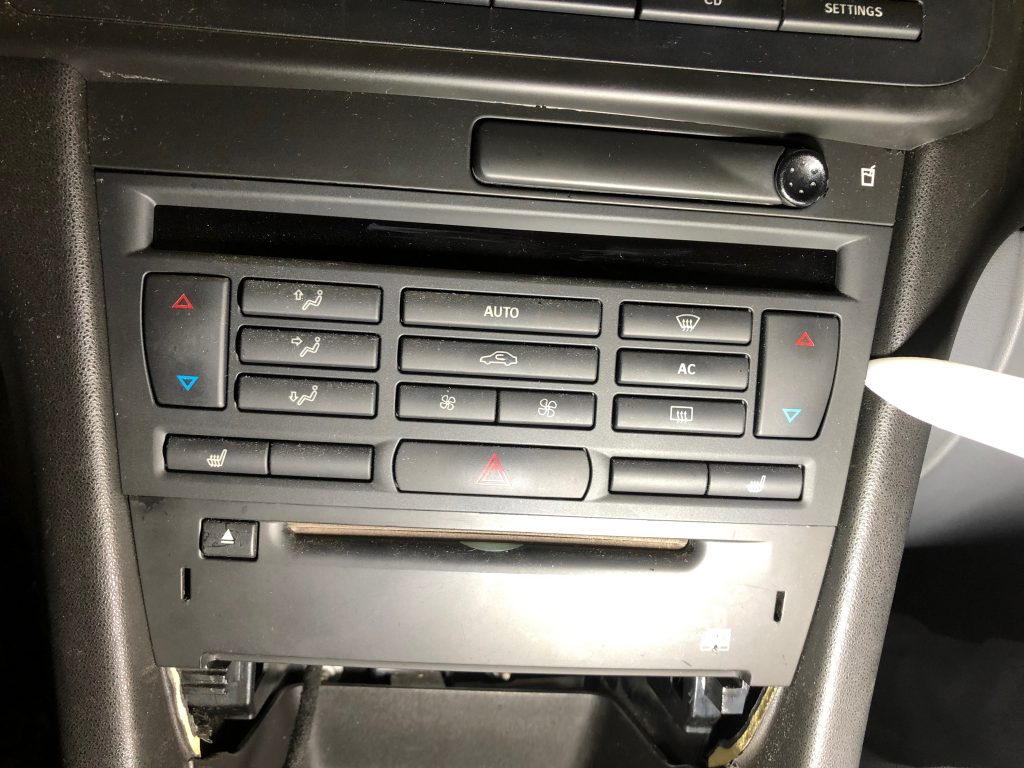
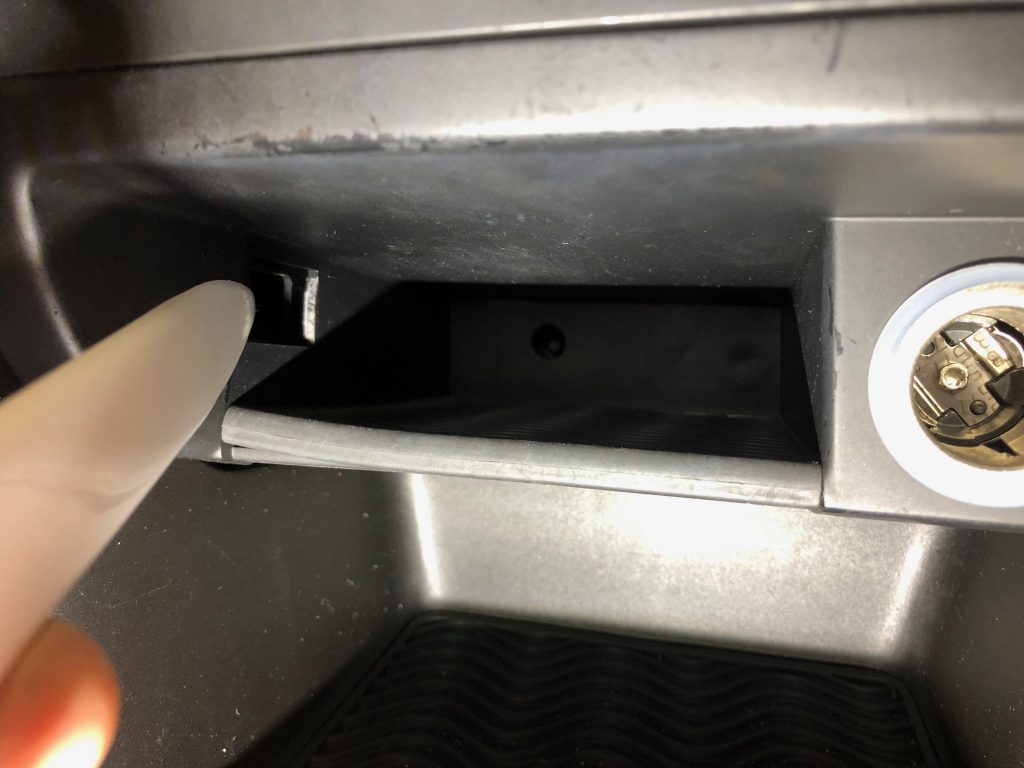
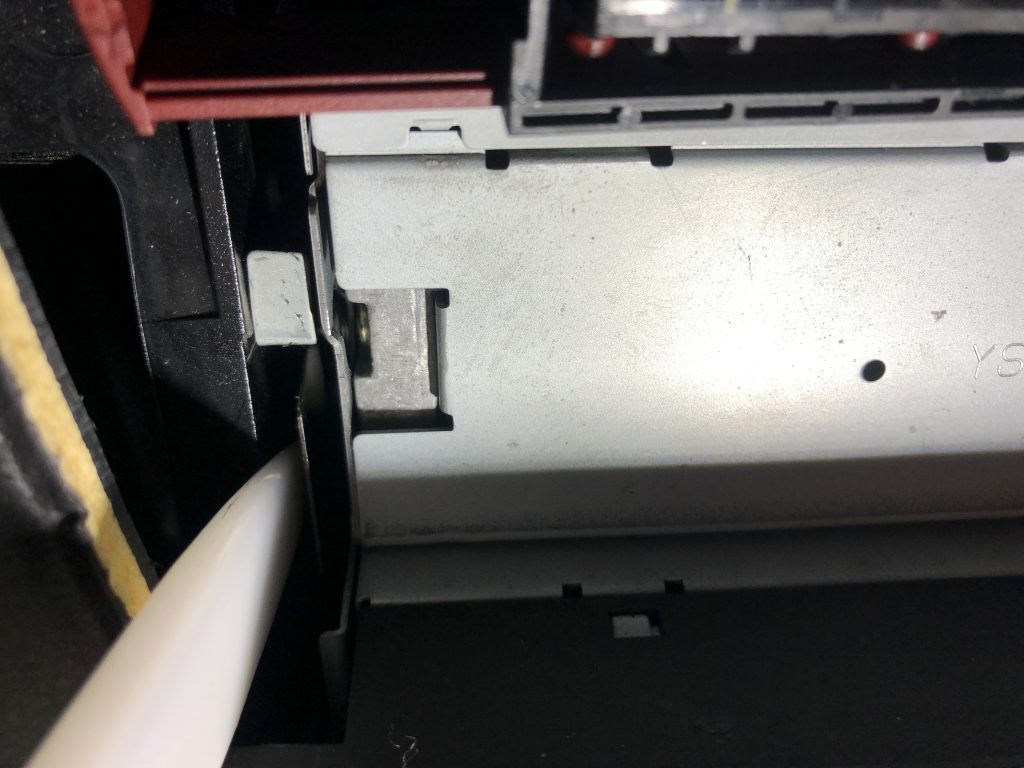
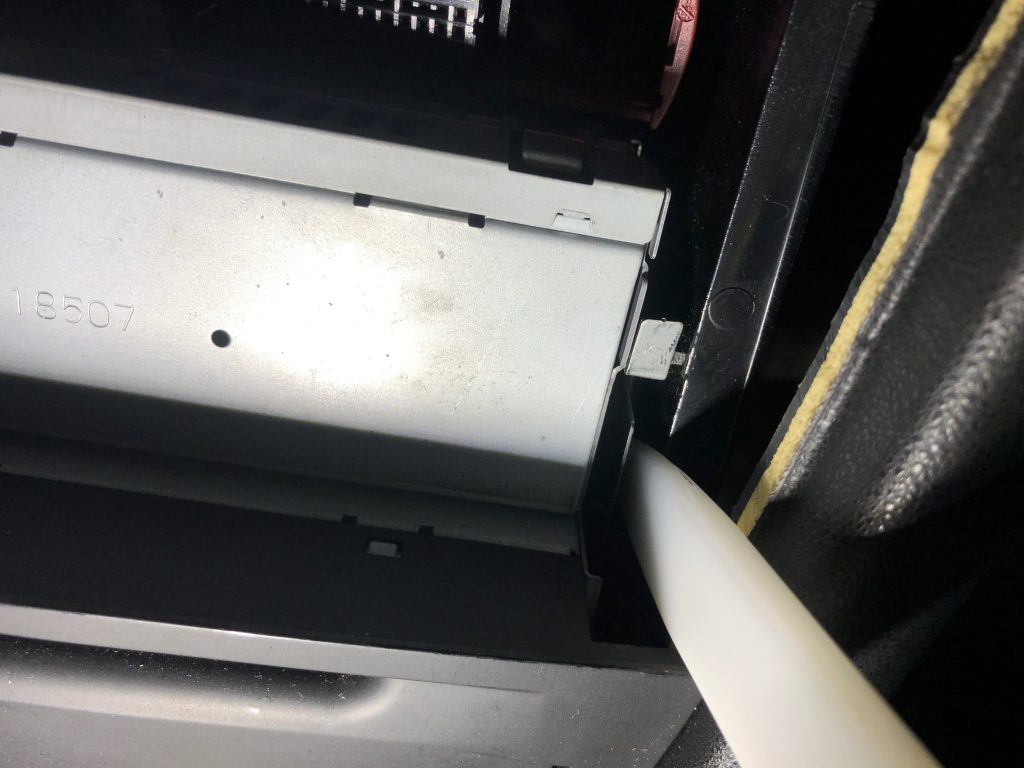
Now that the mic is in place, the rest of the work to complete the install all takes place around the center console. First, remove the ACC control panel. Using a plastic wedge tool it comes right out, no weird clips or attachments that hold it in place. Unplug the two connectors (they can’t be mixed up, so no need to worry there) and put the panel somewhere safe. Next to go is the ash tray, or the cubby that’s in its place. This is held in by a single clip on the left side. Using a small, flat, screw driver, hook underneath the clip and pull the assembly straight forward. Manual cars need to be in 2, 4 or R for this, move the automatic shifter to drive position for this. Unplug the lighter and keep the assembly somewhere safe. Finally, the actual radio module that sits behind the ACC panel can come out. It’s held in place by two large clips on the side, pull them both in and pull the module straight forward.
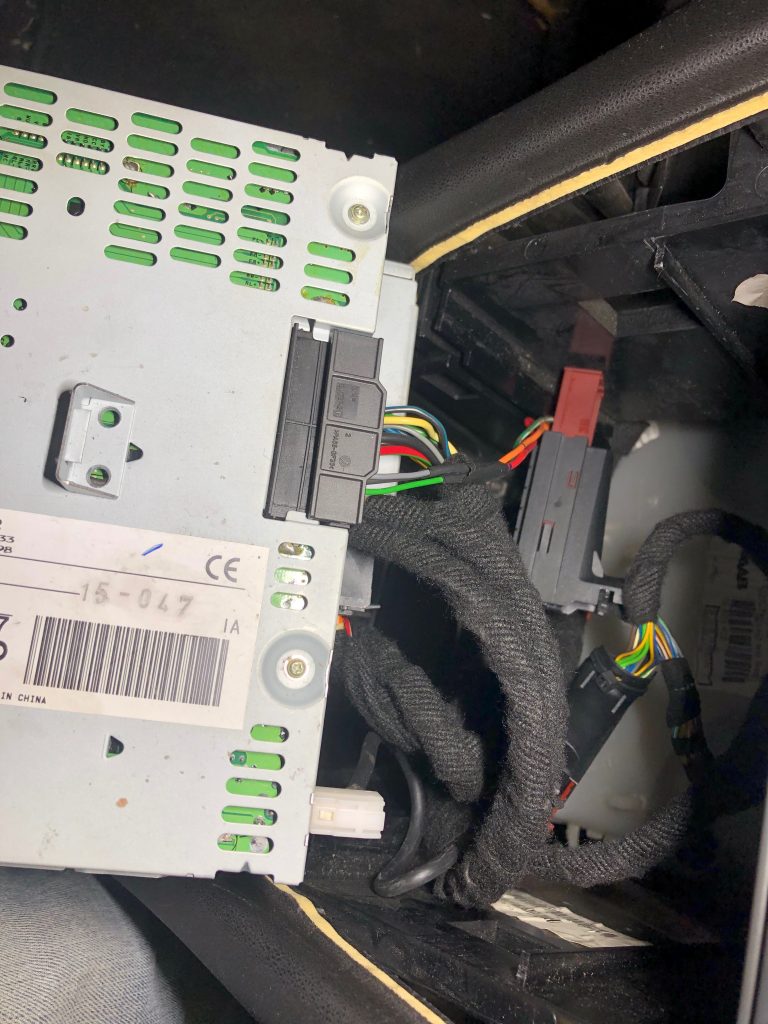
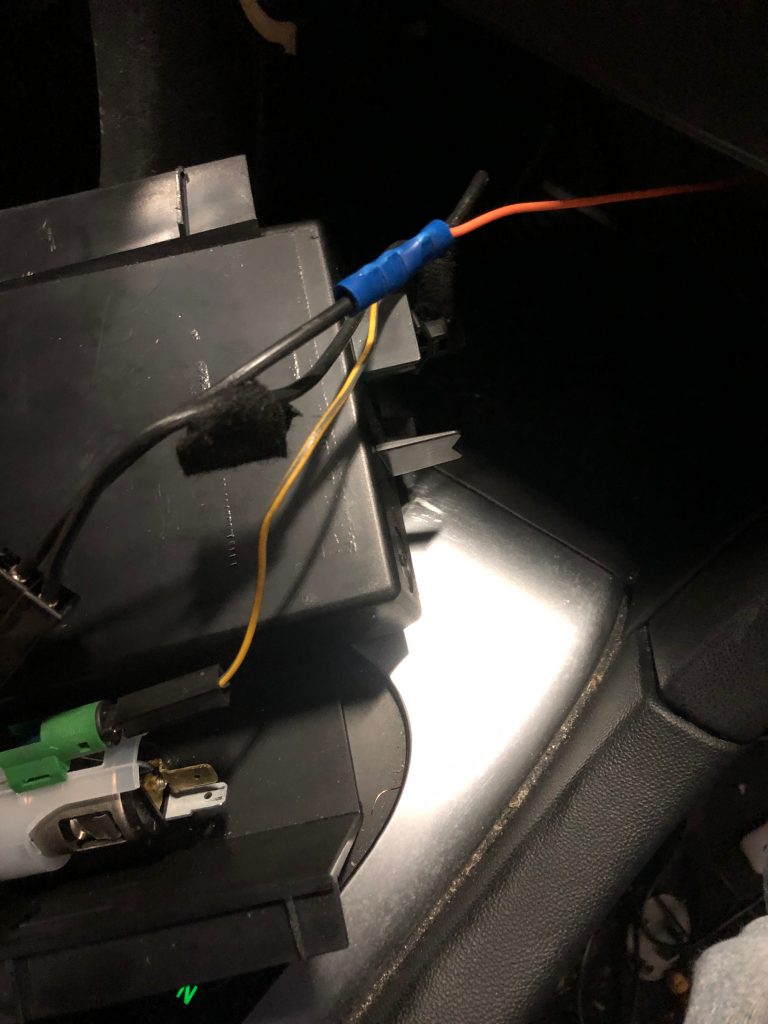
Remove the big connector on the back of the module by pulling down the tab and pushing back the lock on the connector. Now, remove the fiber-optics plug from the connector, keeping note of its position, and plug it into the corresponding connector from the ReierParts harness. Plug the ReierParts harness (with the fiber-optics connector installed) into the radio module, plug the other end into the factory radio connector and push the flat connector down towards the center console. Push the radio module back into its clips, making sure the connectors behind it do not get crushed and the orange wire coming from the flat plug in the ReierParts harness doesn’t get pushed behind the center console, you’ll need it for the next step. Now, attach the orange wire out of the ReierParts harness to the switched 12v wire going to the lighter (the wire that goes to the center contact of the lighter, not the outer perimiter). The easiest method here is to cut that wire, strip it back on both sides, strip the orange wire back a similar amount, and attach the wire back together with the provided blue tube style crimp connector. If you prefer using a different way to connect the switched 12v, that’s fine as well. As long as the switched 12v has a solid connection, it should work just fine.
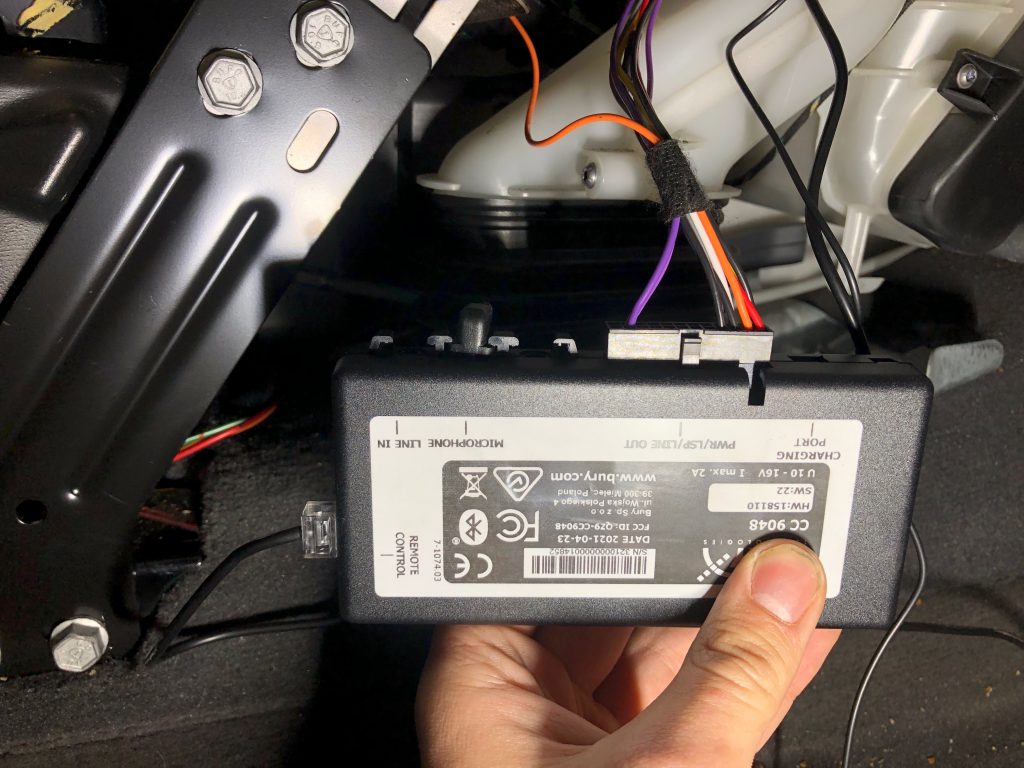
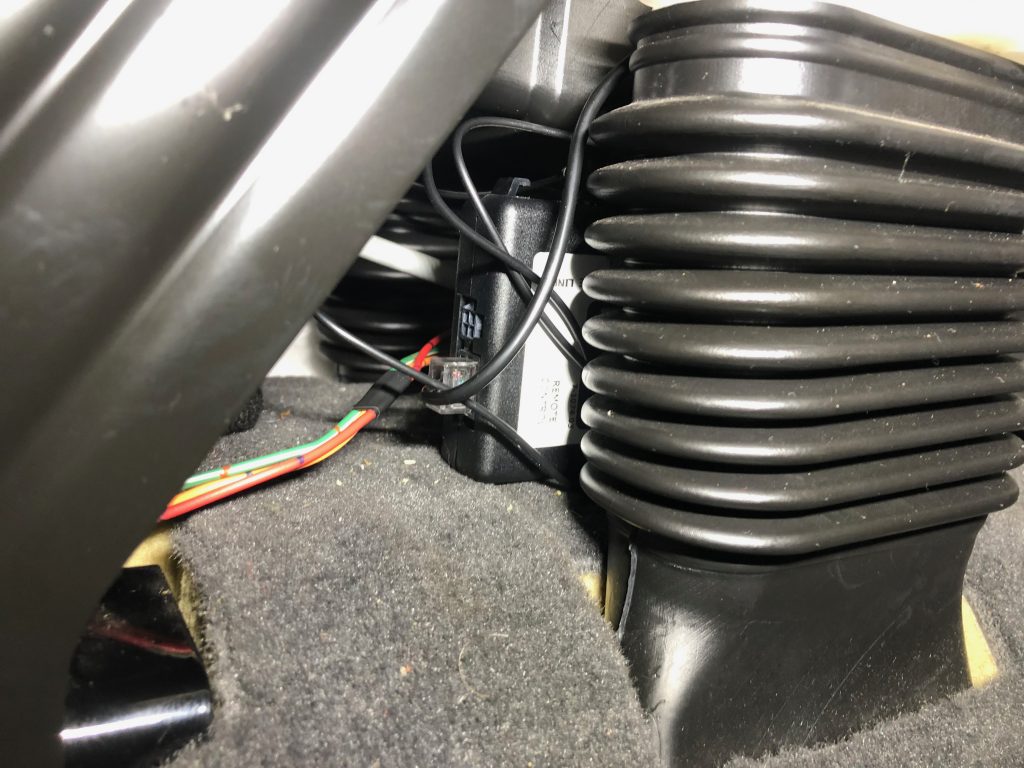
Now we can reassemble the center console, by placing the remote control for the Bluetooth kit on the dashboard (I tend to stick it onto the strip that houses the cup holder) and reinstalling the ash tray assembly and ACC control panel. Next, plug the flat connector, the remote control connector and the microphone jack into the black box of the Bluetooth kit, and turn on the ignition. Before connecting your phone to the Bluetooth kit, the module needs to be set to the correct mode in order to direct call audio and streaming audio the way we want the setup to work. With the module turned on, hold the plus and minus buttons for four seconds to set the module to ‘audio mode 2’. Next, hold the minus and phone buttons for four seconds to turn off ‘mobile audio’. Test if the module functions correctly by connecting your phone and playing music through bluetooth. The car should not go into ‘telephone’ mode on the SID and audio will play back through all speakers of the car. Next, make a test call to check if this does turn the car into ‘telephone’ mode on the SID, this will allow the module to always mute audio for incoming or outgoing phone calls, no matter what source you’re using to listen to music. Note: making these settings with button combinations can be a bit tricky. Reset the module to factory settings if it’s not correct, and first turn on the voice prompts when retrying, this usually makes setting it up a little easier. If you don’t like the voice prompts, they can be turned off after setting the module up.
After testing the module works as intended, refit the center console side panel, glove box, dashboard side panel, a-pillar cover and the little cover on the roof console if you hadn’t already. The install is now complete!
Note: For convertibles; I recommend removing both center console side panels (fitting the module is easiest on the right hand side, but the mic is easiest to fit through the left hand side of the dash). Installing the microphone is easiest with the top down, as this makes removal of the plastic panels surrounding the windshield possible. I recommend placing the microphone on the left a-pillar cover, similar to the position of the factory mic on cars equipped with the factory phone. For instructions on removing these covers, please check WIS. I will update this guide with convertible specific instructions when I get around to installing one of these kits in a convertible again myself.