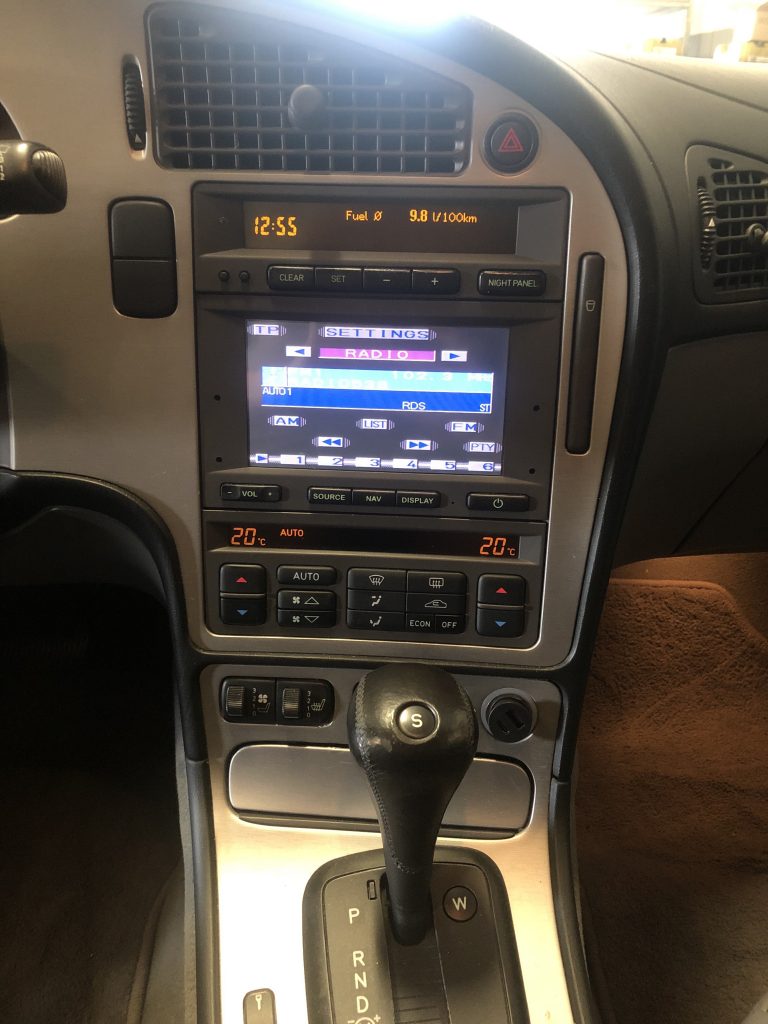
I was approached by a customer who had recently purchased a beautiful, low mileage, fully loaded MY 2004 9-5 Aero. The car came with the factory Kenwood navigation system, and after a couple of years driving new cars my customer had become accustomed to modern infotainment. After discussing the possibilities and the wishes of my customer, we came up with the following list of must-haves;
- Android Auto/Apple CarPlay compatible 2DIN head-unit, preferably Pioneer brand;
- Working steering wheel controls;
- Connected to the OEM Harman Kardon amplifier system;
- DAB+ radio, with an external antenna for the most reliable playback;
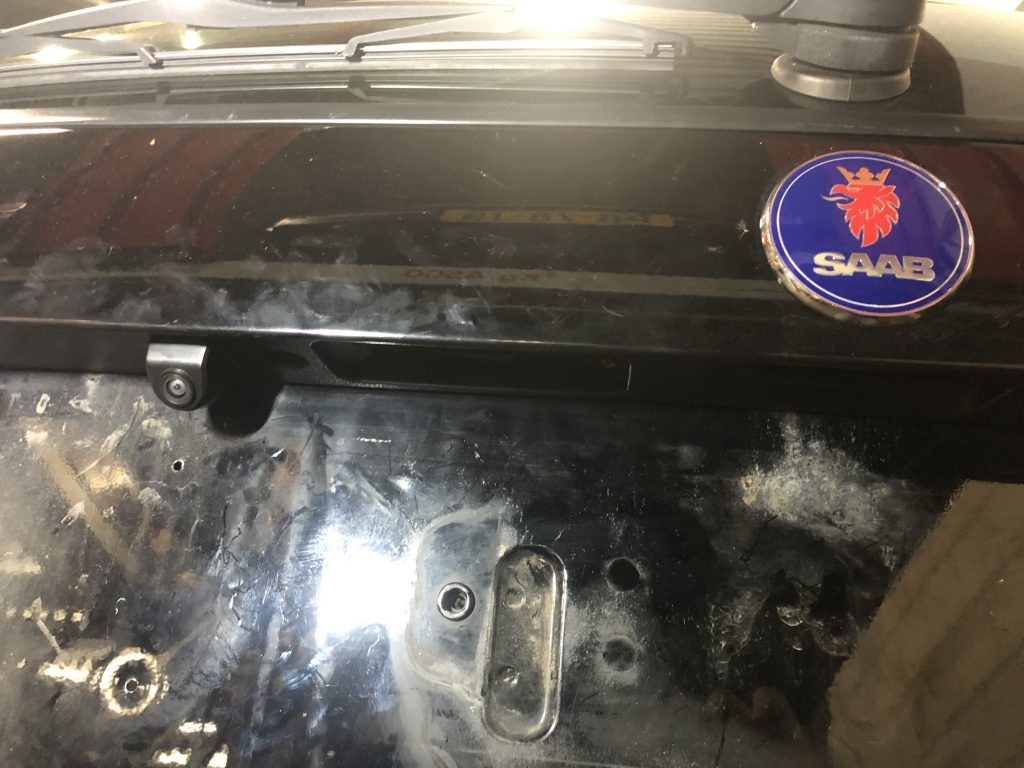
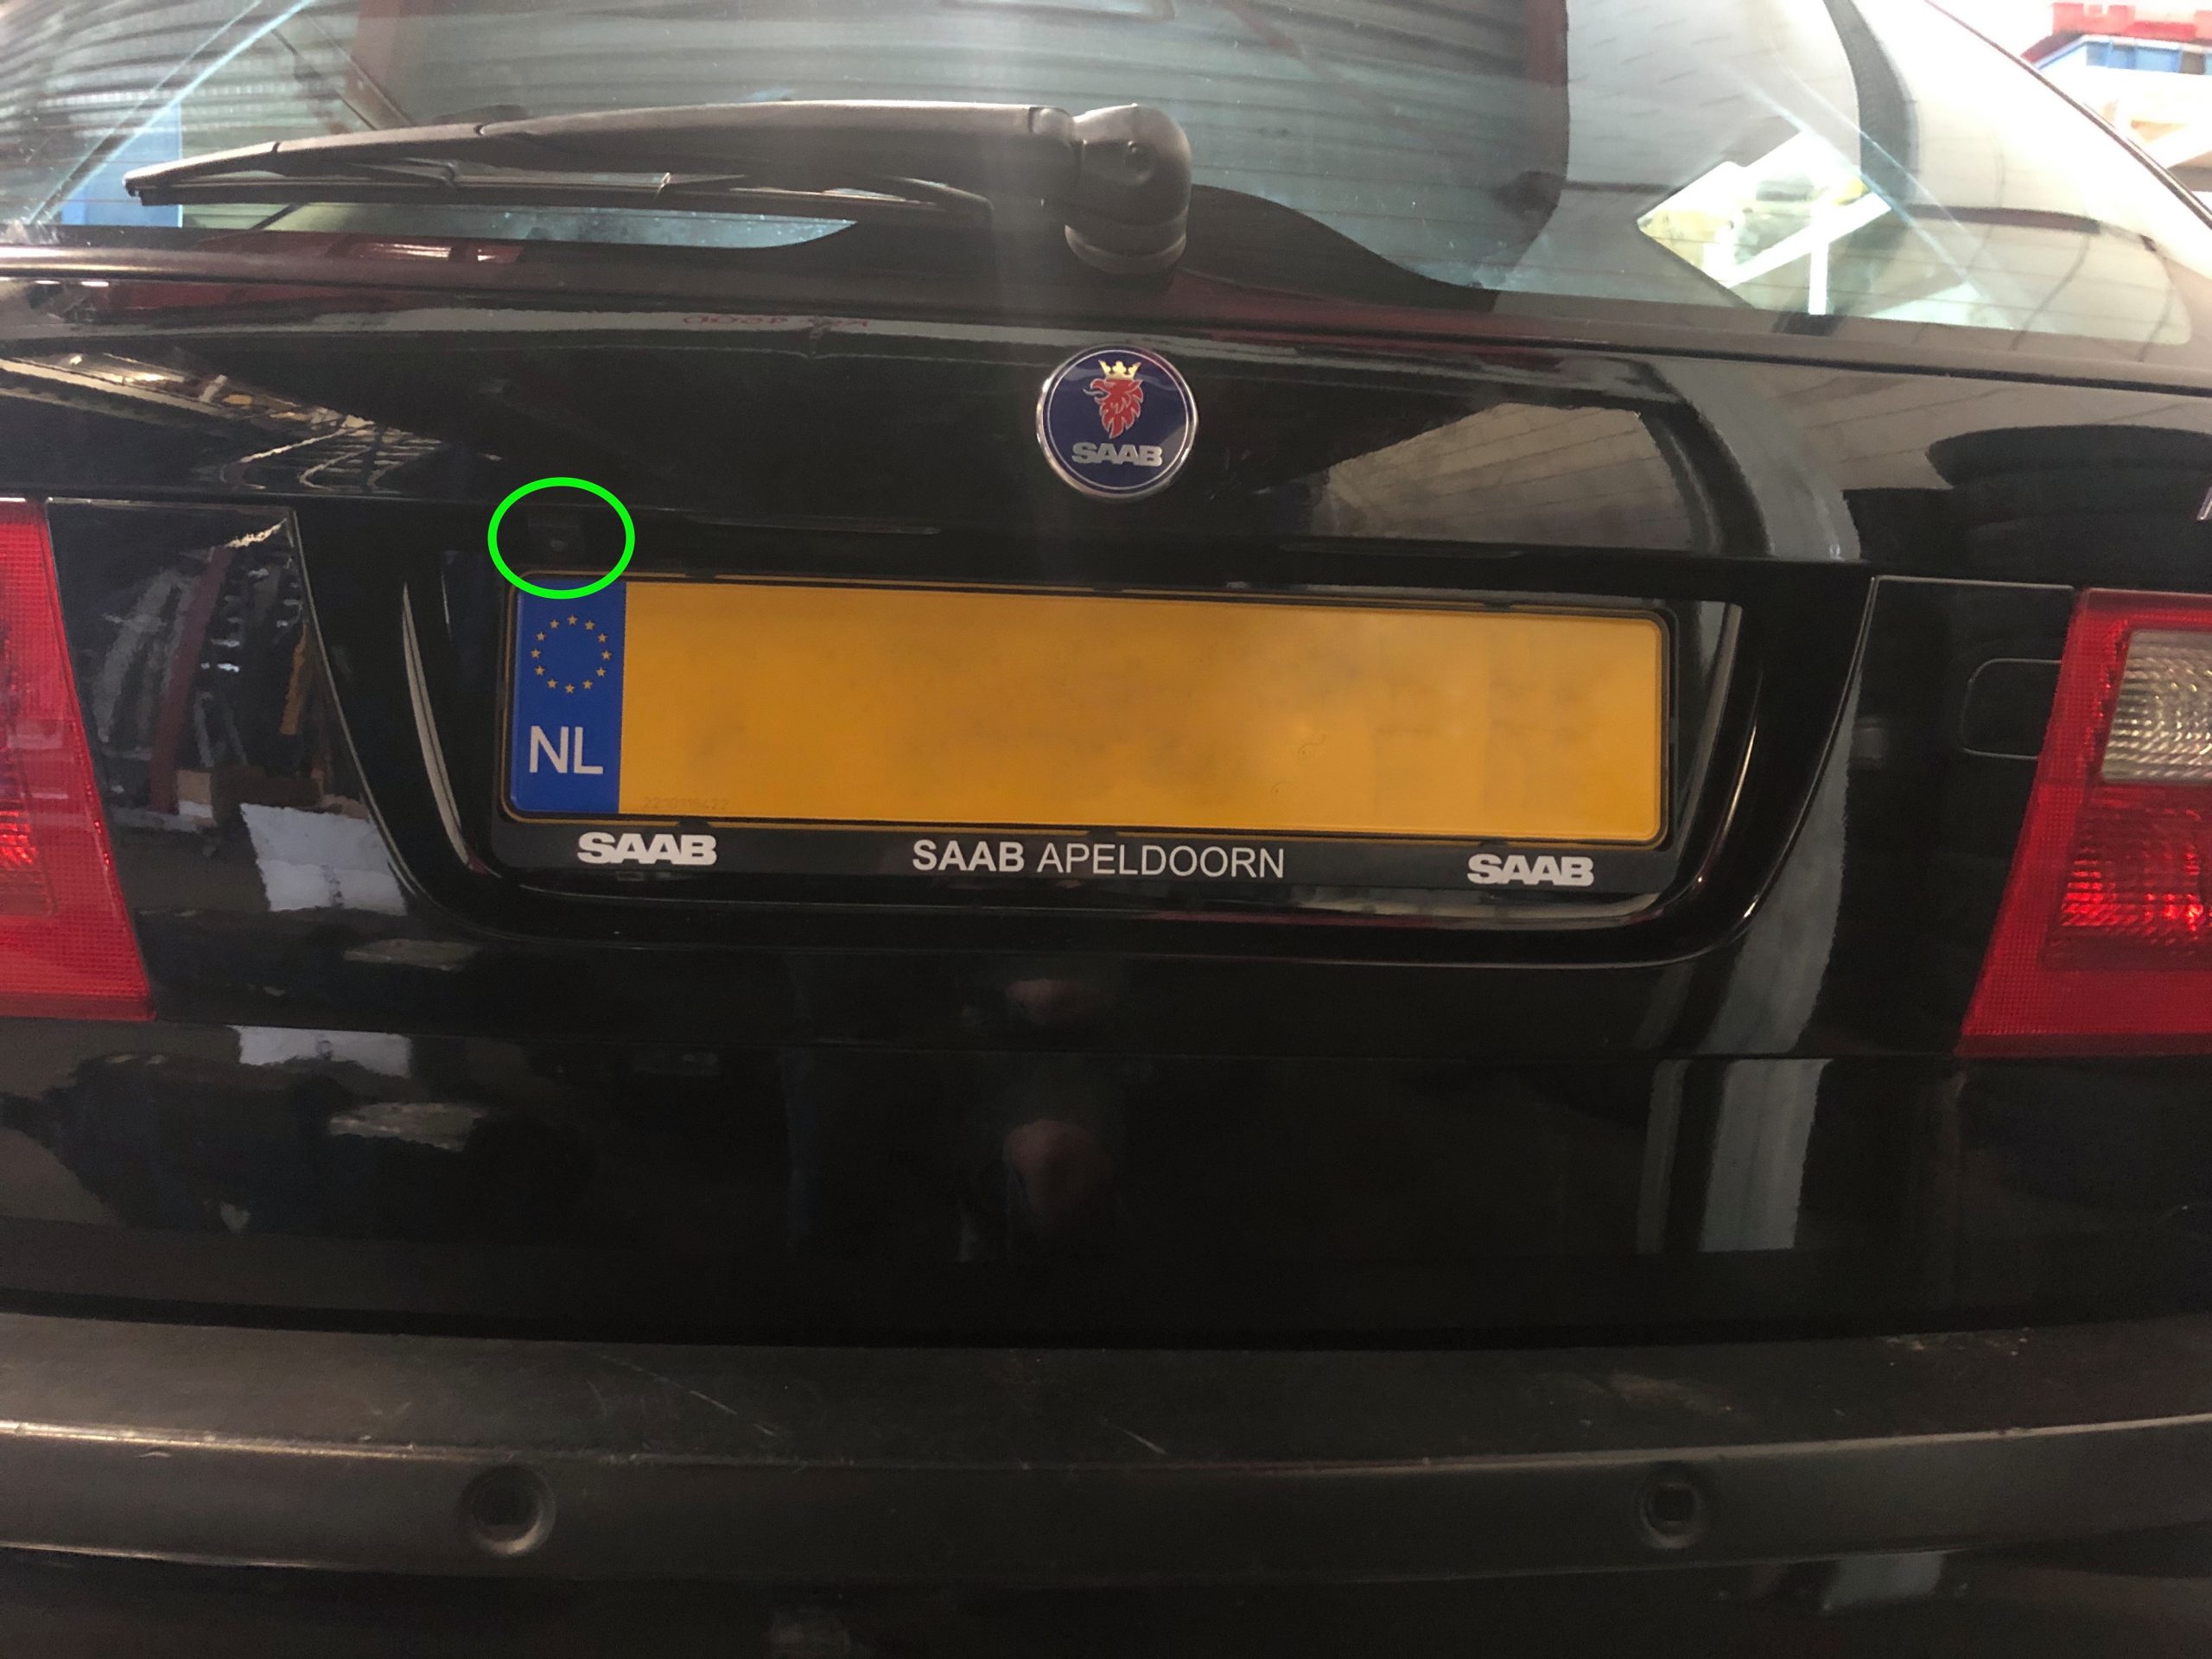
- Reverse camera integrated that automatically pops up when putting the car in reverse.
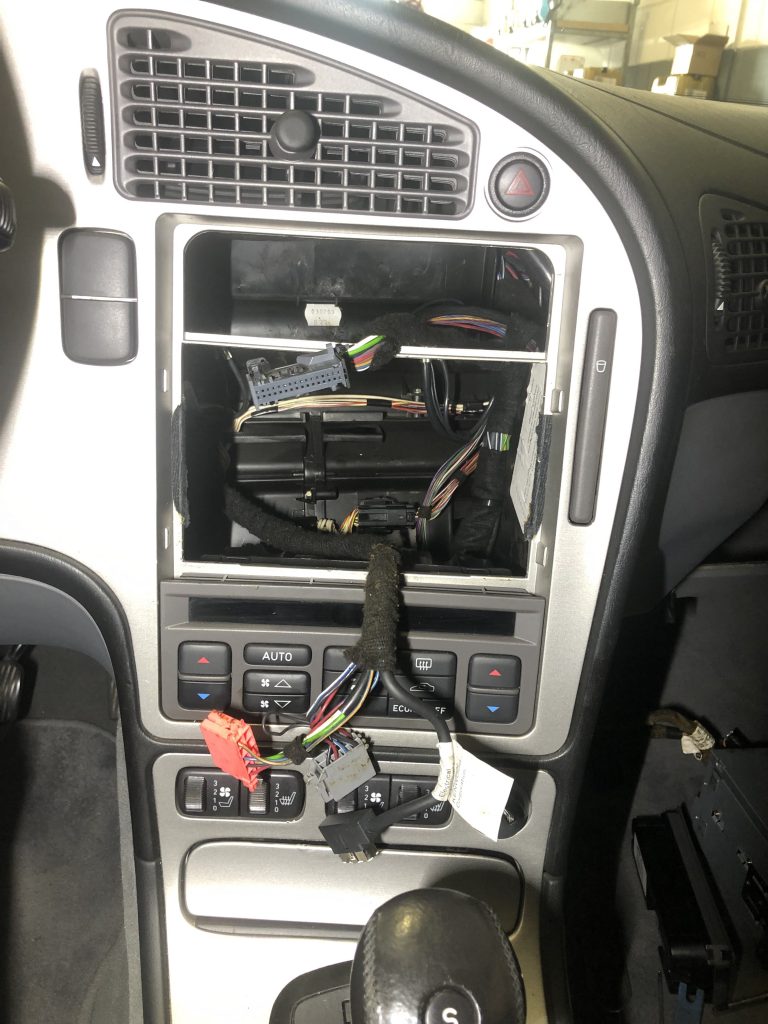
As some of you might know, the original Kenwood navigation system makes this project more difficult when compared to a non-nav car. This is due to the Kenwood system being comprised of multiple modules housed underneath the trunk floor, the screen is nothing more than a display and ‘remote’ for the modules in the trunk. This meant I would have to build a harness to move the amplifier connection to behind the dashboard, like it is in non-navigation cars.
After our planning stage, I went into research mode. Knowing the desired functionality, it was time to figure out how to perform the install and what components to use. I spent some time going through all of the schematics, making sure I knew exactly where to look for all the connections required and I had a feeling of what to disassemble in the car to get everywhere. The parts selection was easier, as I had some experience with multiple of the pieces already. We decided on the following list of parts;
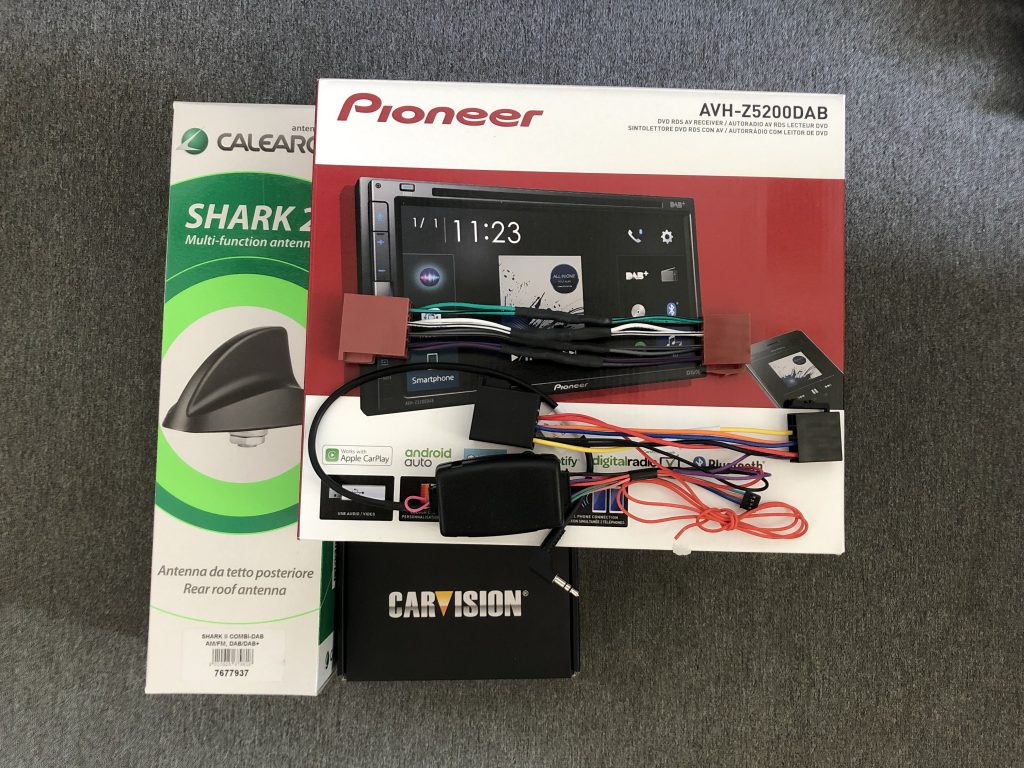
- Pioneer AVH-Z5200DAB 2DIN head-unit
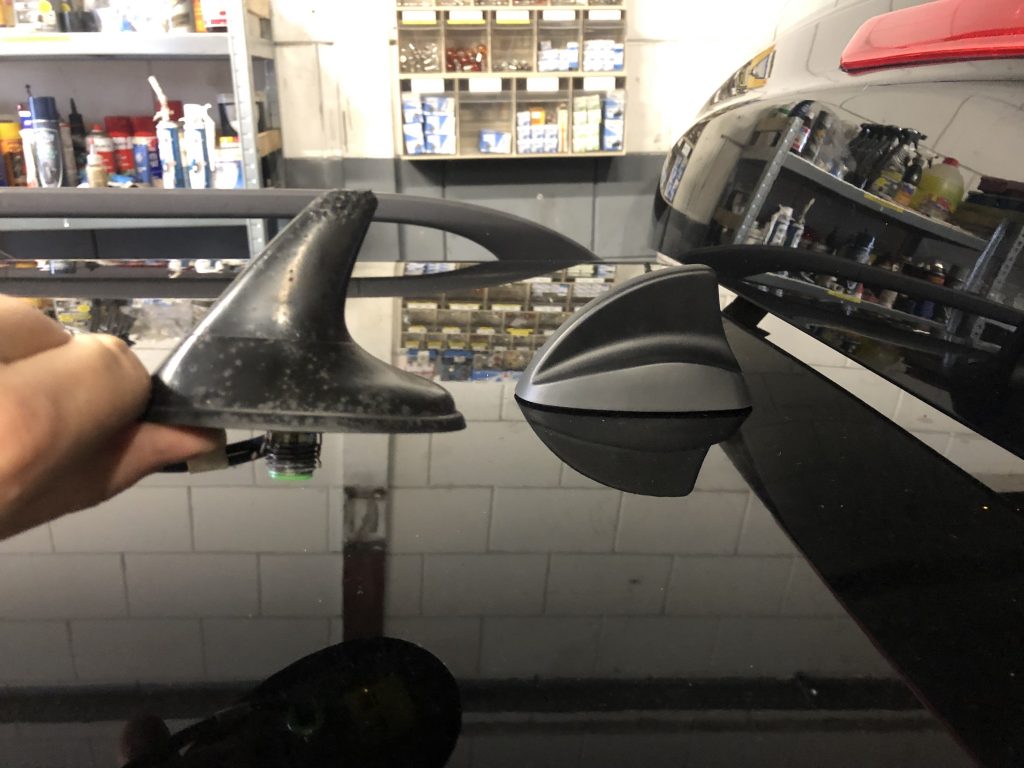
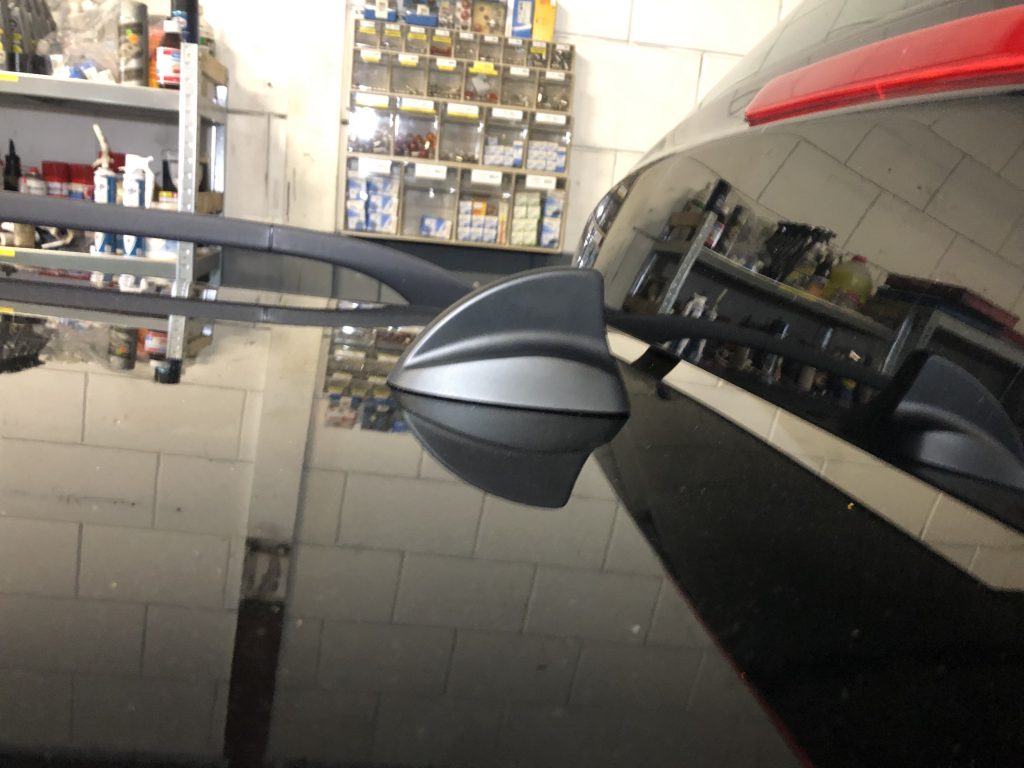
- Calearo Shark 2 FM/FM/DAB+ antenna
- CarVision CV140N reverse camera kit
- ReierParts Amplifier Interface
- ReierParts steering wheel control kit
I built a harness to hook the amplifier system up to my interface, installed the antenna in place of the OEM shark fin GPS antenna and installed the camera on the hatch of the car. After I installed the components, I ran the antenna and camera wiring all the way from the back of the car to the front in order to connect to the new head-unit. It turned out to be a very rewarding job, going from an archaic 15 year old navigation system to modern connectivity and functionality. I attached a small photo collection below to demonstrate the process and end result!
Looking for something similar for your own Saab? Don’t hesitate to contact me!